Professional Editing Guide

Free Photo Editing Tips & Techniques -
Professional Image Editing Masterclass (Part 1)

Transform your workflow with 20 essential techniques to master digital photography editing.

Introduction: Why These Tips Matter

Welcome to our photo editing masterclass free guide. Professional photo editing is not just about applying generic filters—it's about understanding the technical foundations that separate amateur snapshots from stunning visual art. This comprehensive digital photography editing guide covers 20 essential professional photo editing techniques used by expert photographers, retouchers, and digital artists worldwide.

Whether you are searching for photo editing tips for beginners to improve your fundamental skills or you are an experienced editor wanting to refine your photo post-processing techniques and photo retouching techniques, these tips will permanently transform how you approach every image.

Each technique discussed here is designed to work seamlessly with our free online photo editor, giving you professional-grade results directly in your browser without the burden of expensive software subscriptions or privacy-invading cloud uploads. From basic tweaks to mastering complex layer masks, this guide is your definitive resource.

How to Apply These Tips

1

Start with the basics

Master fundamental concepts like how to read a histogram and perform accurate white balance correction photography before moving to more advanced tweaks. Foundations make the final image.

2

Work non-destructively

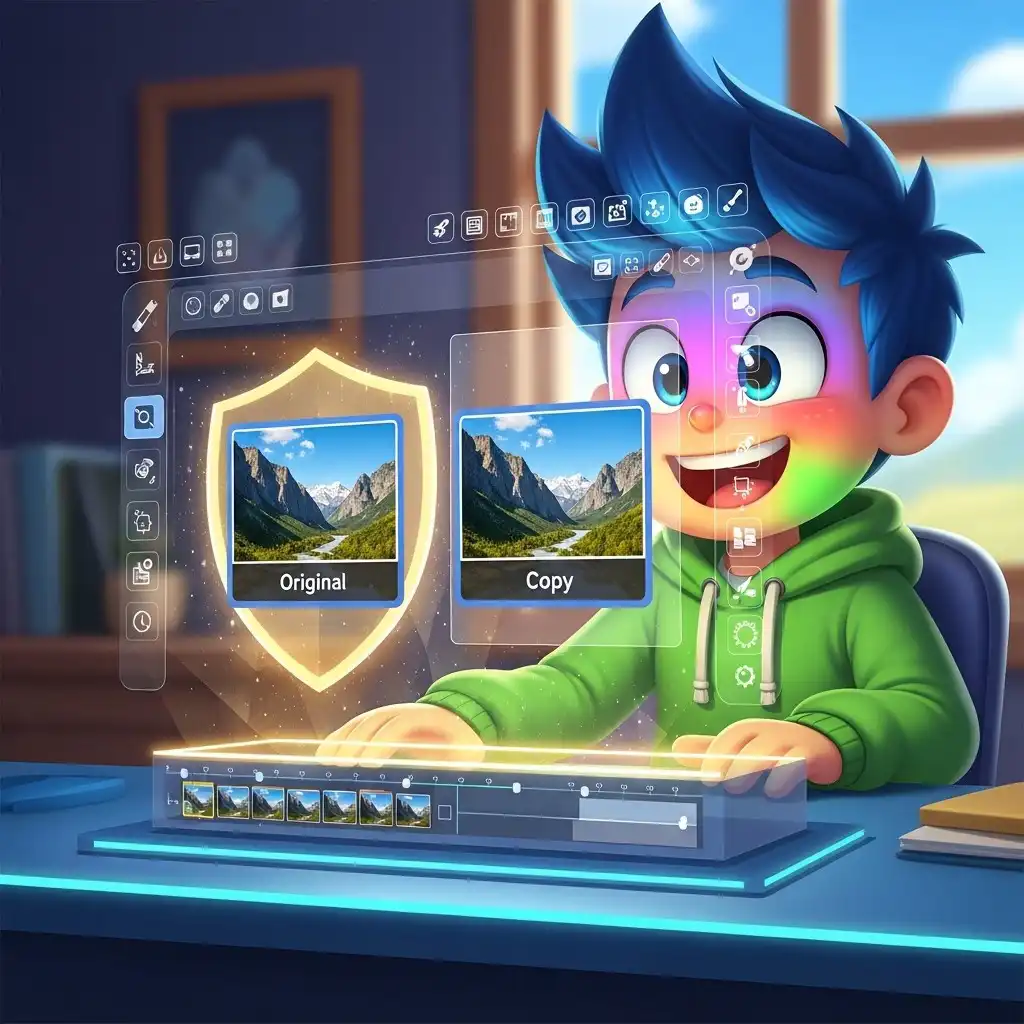
Always implement a non-destructive photo editing workflow by using duplicate layers and adjustment layers. This guarantees you preserve your original image data and can revert mistakes at any time.

3

Edit in order

Follow these photo editing best practices by using a logical sequence: correct white balance first, then fix exposure, adjust colors, and finally apply sharpening to finalize the mood.

4

Use our specialized tools

Apply these advanced photo editing tutorials directly in our ecosystem. You can edit with layers in our Photo Editor, isolate subjects with the Background Remover, or extract precise brand palettes using the Color Picker.

5

Practice consistently

Build muscle memory by editing at least one photo daily using these techniques. Mastery comes from recognizing patterns in lighting, color grading, and structural composition over time.

Professional Workflow: The Right Order

Establishing a structured order of operations is crucial to prevent cascading errors. Here is the optimal sequence for applying your edits:

1. Duplicate Layers

Always start by duplicating your background layer to protect the original, untouched file.

2. White Balance

Correct color temperature first, as it dictates all subsequent color grading tips photography decisions.

3. Exposure & Contrast

Learn how to use histogram in photo editing to ensure proper tonal distribution without harsh clipping.

4. Color Adjustments

Fine-tune overall saturation, vibrance, and localized hue only after the exposure is perfected.

5. Selective Edits

Apply a layer masks tutorial photo editing approach for targeted, localized adjustments (like brightening eyes).

6. Noise Reduction

Apply selectively only to shadow areas if needed, carefully avoiding destroying fine portrait details.

7. Final Sharpening

Apply smart sharpening as the absolute final step before you export or use our Image Compressor to optimize the file size.

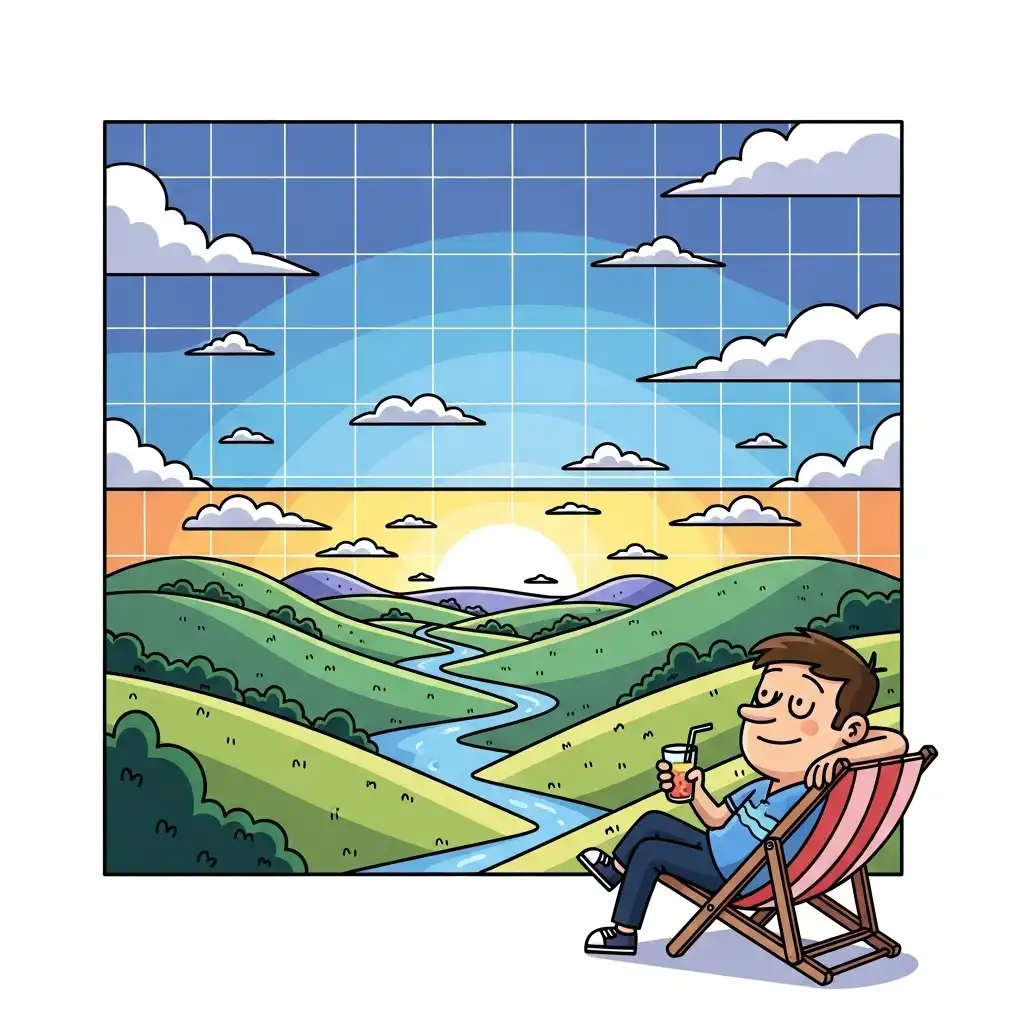
Rule of Thirds grid overlay applied to a photograph

Rule of Thirds

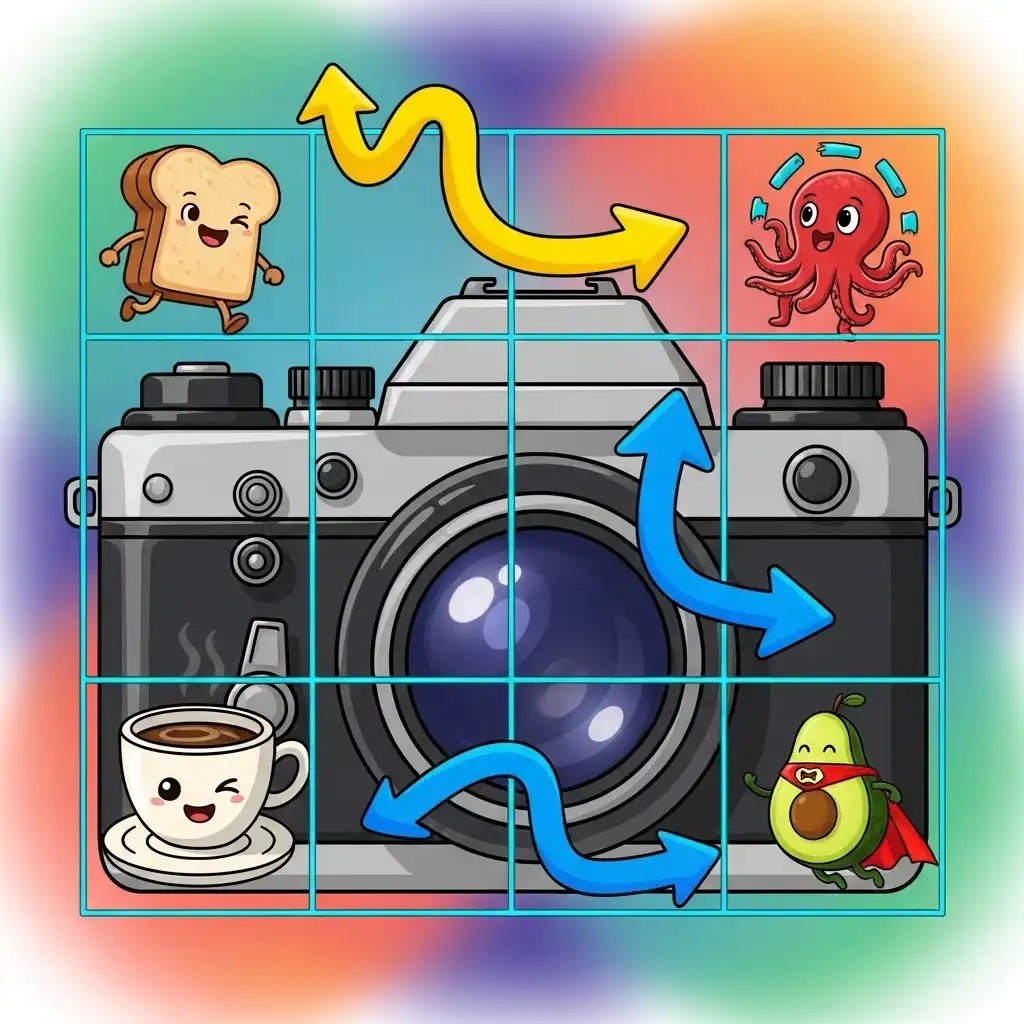
The rule of thirds is the fastest composition upgrade in photography — a simple 3×3 grid that turns static, centered snapshots into balanced, dynamic images. Apply it while shooting, or recompose any photo later with our Image Cropper's built-in compositional grids.

Read the full guide: How to Use the Rule of Thirds

Correcting white balance using the eyedropper tool

White Balance First

White balance establishes the color foundation of every edit — an inaccurate temperature propagates errors through every adjustment that follows. Fix color temperature first using our Photo Editor, keeping skin tones and environmental colors perfectly natural before any creative grading.

Read the full guide: How to Fix White Balance in Photo Editing

Applying smart sharpening to enhance image details

Smart Sharpening

Sharpening is the final polish of image editing — and the fastest way to ruin a good photo when applied too early or too aggressively. Apply smart sharpening as the last step, tied to your output, using the precise sharpening filters in our Photo Editor to restrict it to real edges instead of smooth skin and skies.

Read the full guide: How to Sharpen Photos Without Artifacts

Applying selective noise reduction to a digital photo

Selective Noise Reduction

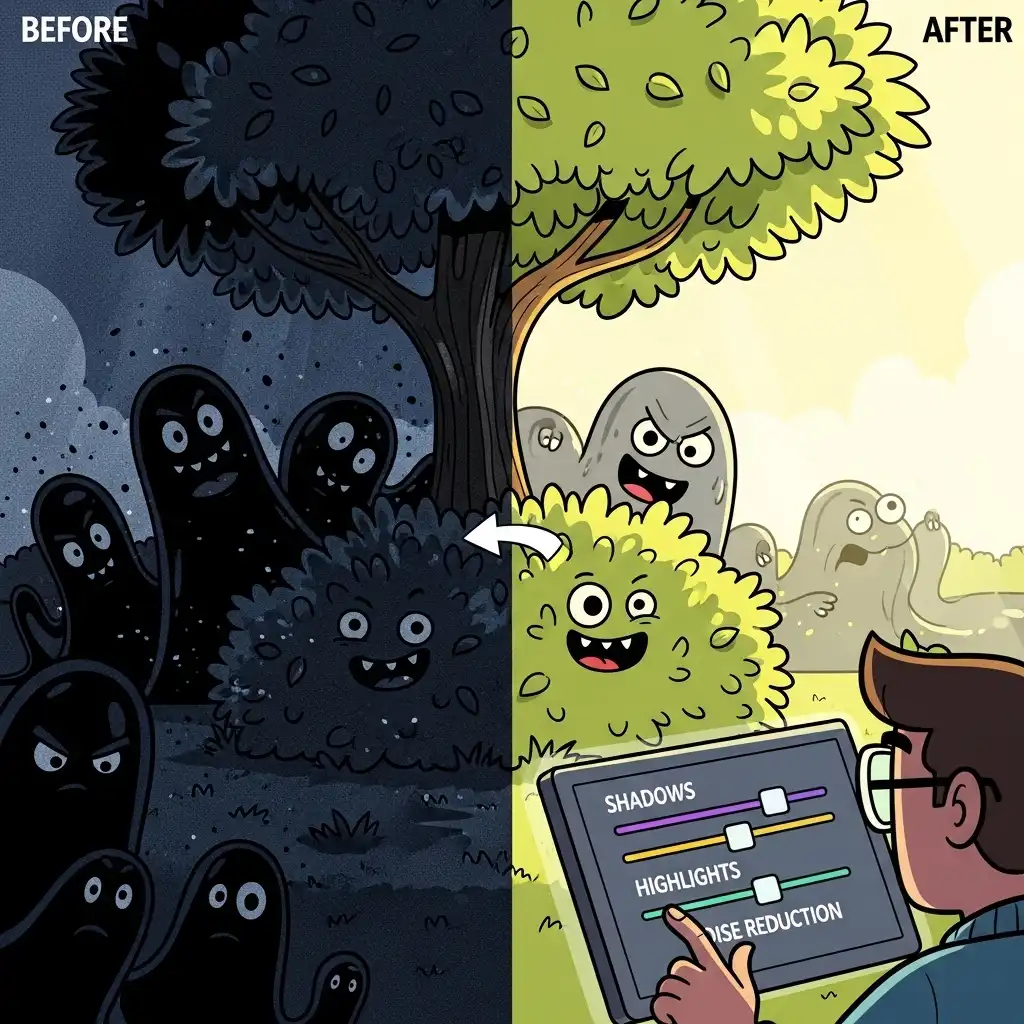
Noise reduction demands surgical precision, not blanket application — maxing the sliders erases the texture that makes photographs feel real. Manage grain selectively in our Photo Editor, keeping noise subordinate to the subject and protecting delicate skin texture without the plastic, melted look.

Read the full guide: How to Reduce Noise Without Losing Detail

Demonstration of using Layer Masks to hide and reveal parts of an image

Layer Masks

Layer masks are the cornerstone of non-destructive editing — where the eraser permanently discards pixels, masking conceals them reversibly: black hides, white reveals, gray blends. Apply adjustments selectively in our Photo Editor, brightening only a subject's face without touching the rest of the image.

Read the full guide: Layer Masks Tutorial for Photo Editing

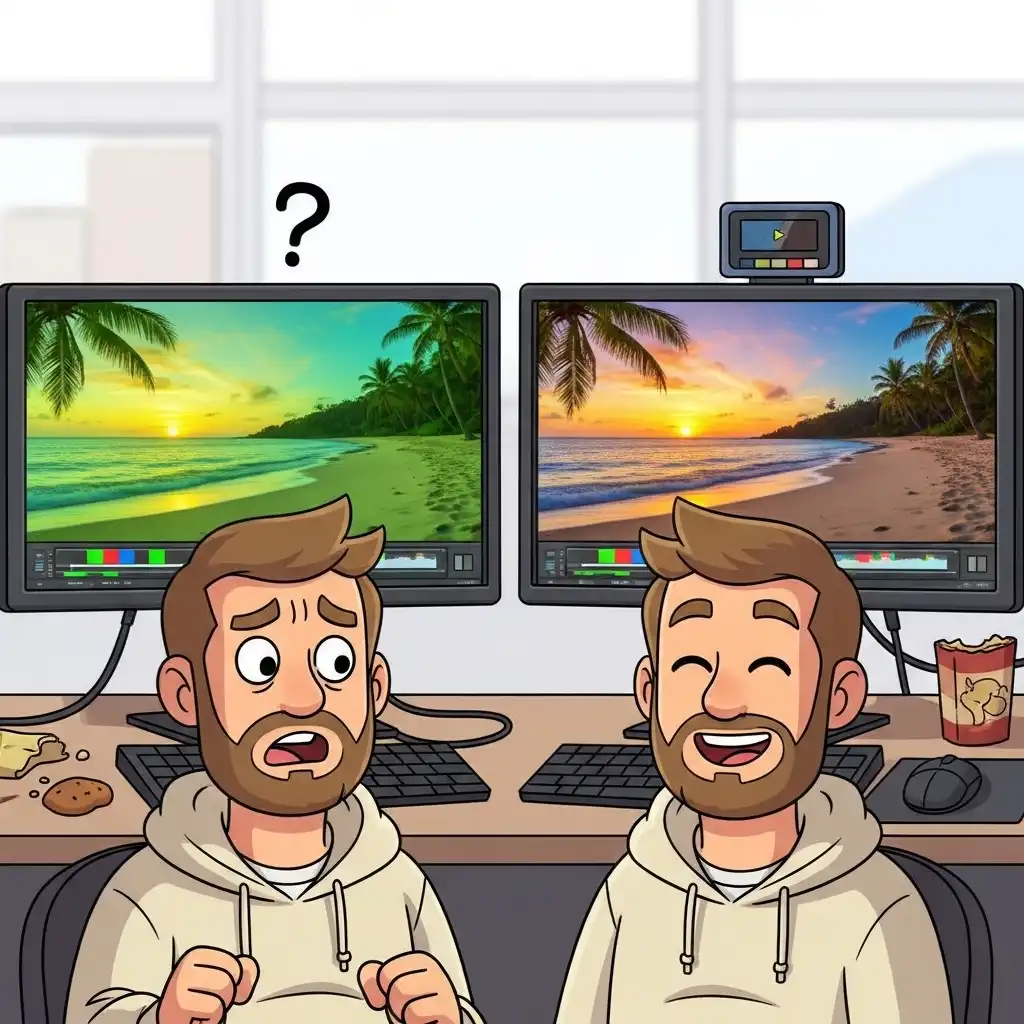
Monitor calibration tool ensuring accurate colors on screen

Monitor Calibration

Monitor calibration is the invisible foundation of color-accurate editing — an uncalibrated display presents a distorted reality that guarantees inconsistent results across devices. Calibrate with a colorimeter, then trust our Color Picker to extract exact HEX and RGB codes knowing your decisions reflect true intention.

Read the full guide: How to Calibrate Your Monitor for Photo Editing

Comparison of RAW versus JPEG file formats

Shoot in RAW

Shooting in RAW preserves the sensor's complete luminance and color data — unlike JPEGs, which discard information at capture, RAW files give you two extra stops of recoverable shadow detail and lossless white balance correction. Prep processed RAW exports for fast web delivery using our Universal Converter.

Read the full guide: Why Shoot in RAW Instead of JPEG

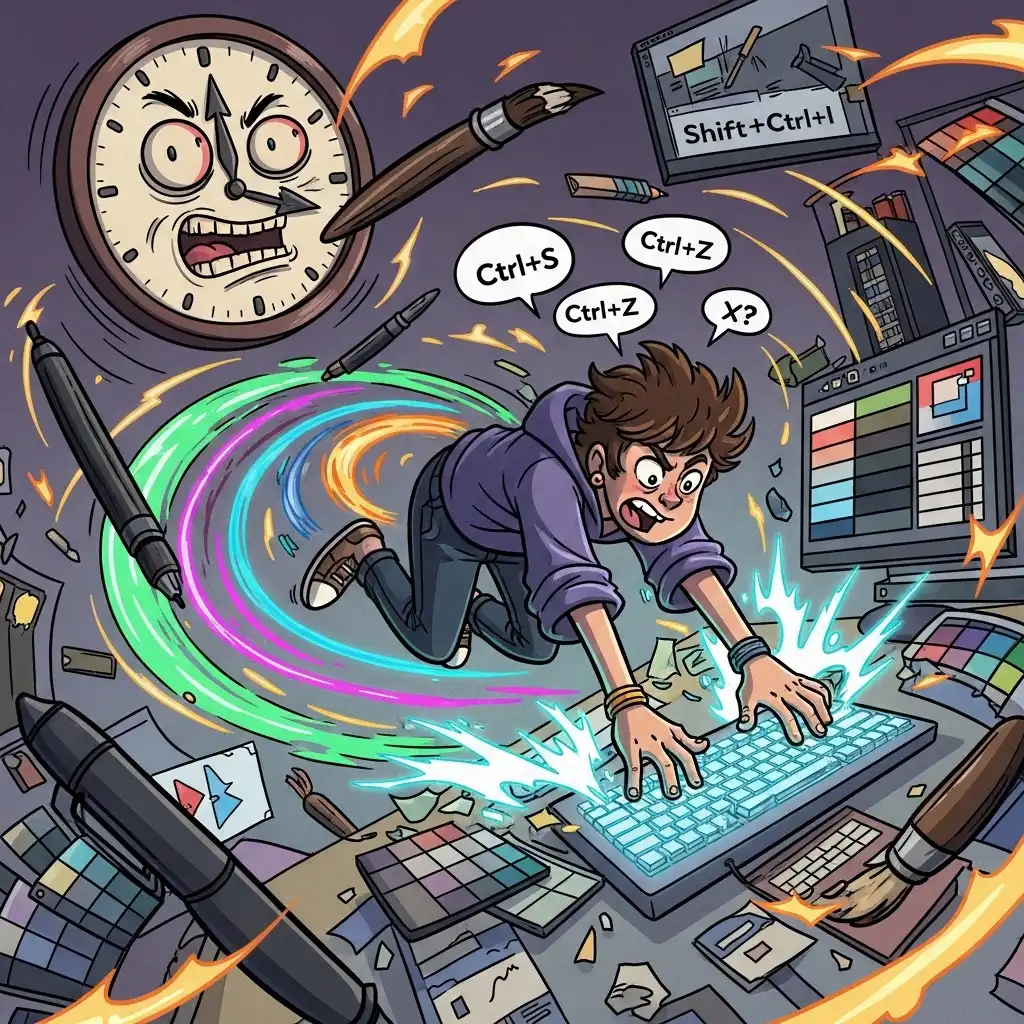
Illustration of essential keyboard shortcuts for photo editing

Keyboard Shortcuts

Keyboard shortcuts transform editing from a mechanical series of menu clicks into a fluid, almost meditative practice — your attention stays on the image, not the interface. Start with the five tools you use most in our Photo Editor and let the efficiency compound.

Read the full guide: Keyboard Shortcuts for Photo Editing

Adjustment layers panel showing non-destructive editing options

Adjustment Layers

Adjustment layers transform color correction from destructive alterations into flexible instructions floating above your image — modifiable, maskable, and deletable at any time. Stack color balance and curves adjustment layers in our Photo Editor to build cinematic looks that stay fully editable.

Read the full guide: What Is an Adjustment Layer in Photo Editing

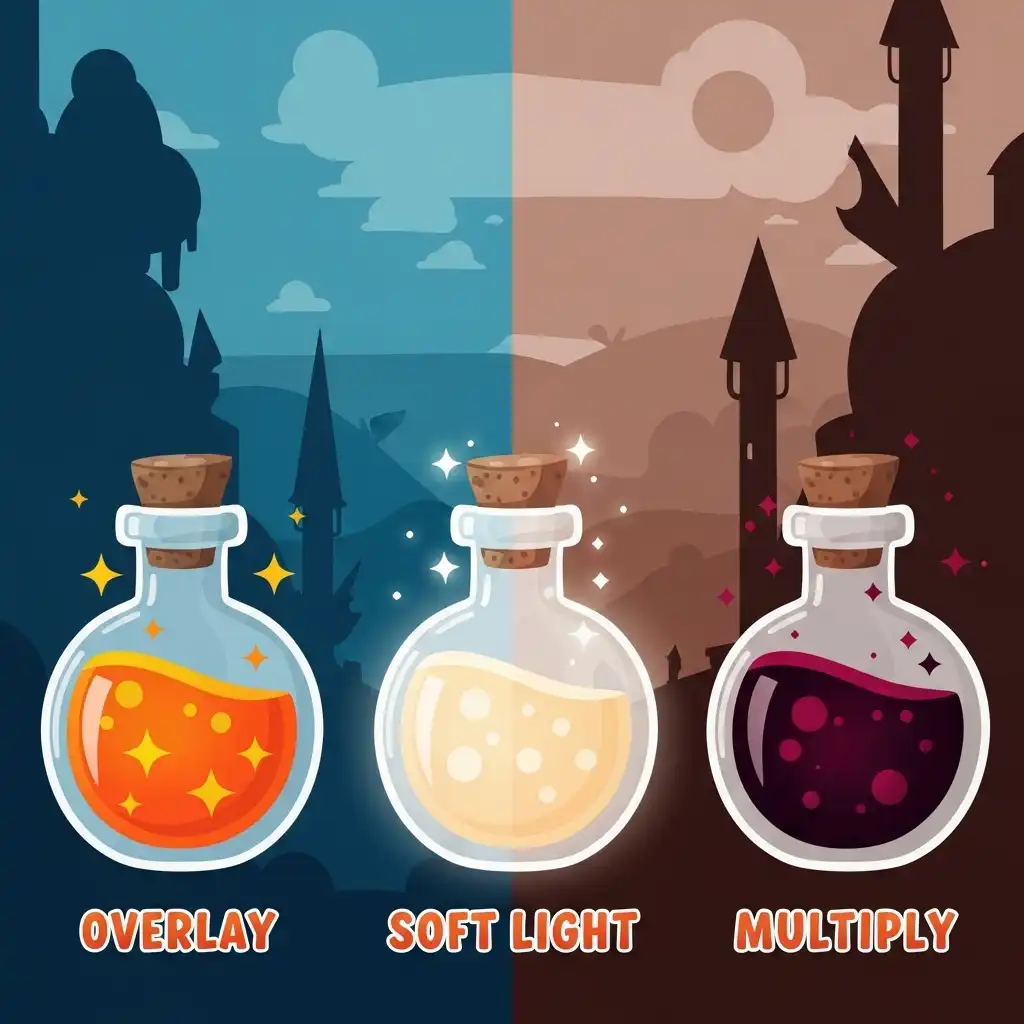
Demonstration of different blending modes in the layers panel

Blending Modes

Blending modes define exactly how pixel values from one layer interact with those beneath it — unlocking creative control that no standard slider can achieve. Explore powerful layer blend modes like Multiply, Screen, and Overlay in our Photo Editor to add atmospheric depth, cinematic color grading, and seamless compositing.

Read the full guide: Blending Modes Explained for Photo Editing

Photographer applying intentional editing adjustments

Intentional Editing

Intentional editing begins with a single question: does this change serve the photograph's purpose? This discipline protects images from the accumulation of adjustments that overwhelm authenticity. Learn how to avoid over-editing photos and practice restraint in our Photo Editor.

Read the full guide: How to Edit Photos with Intention

Dodge and burn technique used to sculpt light and shadow

Dodge and Burn

Dodge and burn sculpt light to enhance dimensionality — digital dodging lightens highlights while burning darkens shadows, based on classic darkroom methods. Paint on separate Overlay or Soft Light layers at 5-15% opacity in our Photo Editor for invisible, three-dimensional results.

Read the full guide: How to Dodge and Burn in Photo Editing

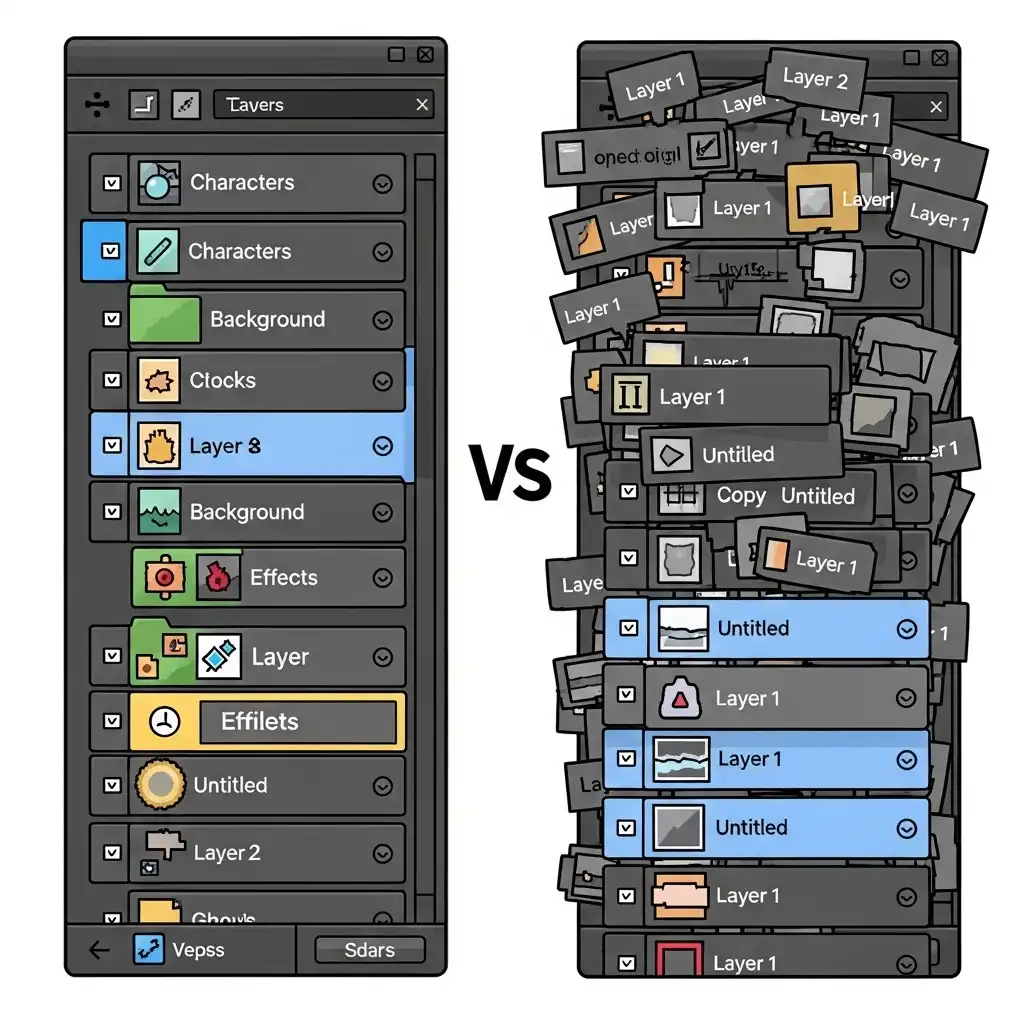
Organized layer stack with groups and color coding

Organize Layers

Layer organization transforms chaotic editing into navigable, stress-free workflows — rename layers immediately ('Sky Mask' instead of 'Layer 1') and group related adjustments into structured folders. Our Photo Editor fully supports a comprehensive layer stack interface for revisions days later.

Read the full guide: How to Organize Layers in Photo Editing

When to Use Each Technique

Duplicate Layers: Always, for every edit session in the Photo Editor.
Master Histogram: Before and after major adjustments.
Rule of Thirds: During cropping with the Image Cropper.
White Balance First: Every photo, especially indoor shots.
Smart Sharpening: Final step before export.
Noise Reduction: High ISO photos, deep shadow areas.
Subtle Vignetting: Portraits, product photos, landscapes.
Layer Masks: Any time you need selective adjustments in the Photo Editor.
Monitor Calibration: Before starting serious work with the Color Picker.
Shoot in RAW: When possible, for maximum editing flexibility.
Keyboard Shortcuts: Always, to speed up your workflow.
Adjustment Layers: For any color or exposure correction.
Check Edges: Before finalizing any image with the Image Cropper.
Blending Modes: For creative compositing and effects.
Intentional Editing: Throughout the entire process.
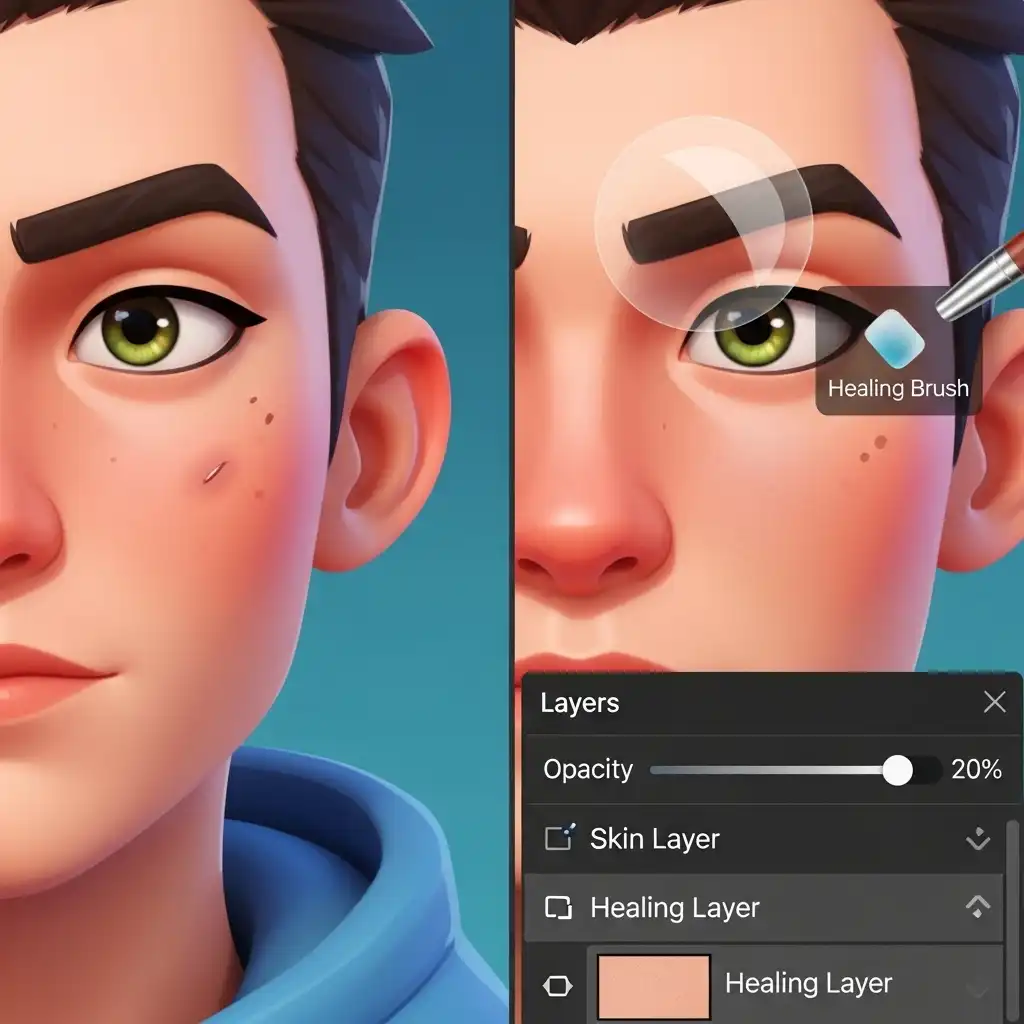
Healing Brush: For removing distractions and blemishes.
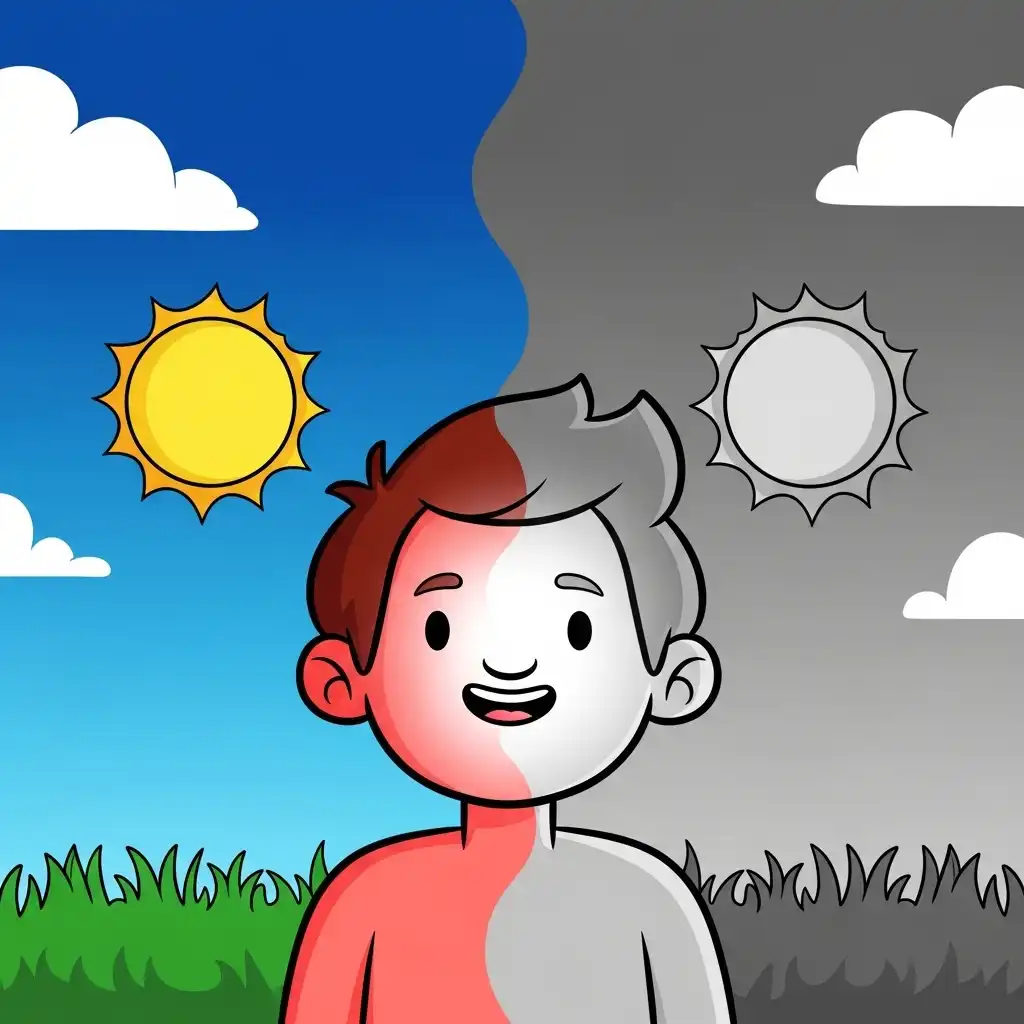
Better Black & White: When converting color photos to monochrome.
Straighten Horizons: For landscapes, architecture, and seascapes with the Image Cropper.
Dodge and Burn: For adding depth and dimension.
Organize Layers: For complex projects with multiple adjustments.

Privacy & Security Guarantee

100% Client-Side Processing

  • No Server Uploads: Your images stay strictly on your device's RAM.
  • No Storage: We do not keep copies; nothing is saved after you close the tab.
  • No Tracking: Our scripts do not monitor or scan your pixels.
  • Offline Capable: Works safely even if you disconnect the internet mid-process.

Safe for Sensitive Data

  • Personal Photos: Keep your personal life private and unexposed.
  • Proprietary Designs: Business graphics, contracts, and NDA-protected work are safe.
  • No Accounts Required: We do not collect emails or passwords.
  • Clean Output: Professional results with zero forced watermarks.

Frequently Asked Questions

What are the most important photo editing tips for beginners?

For beginners, the most important tips are: always duplicate your background layer so you never destroy the original file, learn to read the histogram to avoid overexposing or underexposing details, correct the white balance first, and use the Rule of Thirds to ensure your composition is dynamic. These photo editing tips for beginners establish a solid foundation before you move on to complex filters. Finally, apply adjustments gently—less is often more.

How do I read a histogram correctly?

A histogram maps the brightness of pixels in your image. The far left represents pure black (shadows), the middle represents midtones, and the far right represents pure white (highlights). A well-balanced exposure usually has a "mountain" shape spanning across the graph. If the graph touches the far left wall, you are losing shadow details (clipping). If it touches the far right wall, your highlights are blown out. Learning how to use histogram in photo editing is essential to fix these exposure issues visually.

What is the best order for photo editing?

The professional order is: 1) Duplicate layer; 2) White Balance / Color Temperature correction; 3) Exposure and Contrast adjustments using the histogram; 4) Color Grading (Saturation, Vibrance); 5) Selective Edits using masks (Dodge/Burn, Healing Brush); 6) Noise Reduction (if necessary); 7) Final Sharpening. Establishing these photo editing best practices early prevents you from having to undo conflicting edits later.

How do I use layer masks in photo editing?

Layer masks allow you to hide or reveal parts of a layer without erasing pixels, which is the core of non-destructive editing. White reveals the layer, black conceals it, and shades of gray create partial transparency. You use a brush tool set to black or white to paint over the mask. This is perfect for selectively applying effects, like brightening only a subject's face while leaving the background untouched. Any good layer masks tutorial photo editing guide will tell you to use soft brushes for seamless transitions.

What is white balance and why is it important?

White balance is the process of removing unrealistic color casts from your photo, ensuring that objects which appear white in person are rendered white in your image. It compensates for the color temperature of your light source (e.g., warm indoor lighting vs. cool cloudy daylight). Proper white balance correction photography is the required foundation for natural skin tones and accurate color grading across all your shots.

How do I sharpen photos without creating artifacts?

To sharpen photos properly, use "Smart Sharpening" or an "Unsharp Mask" only as the absolute final step in your process. Apply it sparingly to avoid glowing halos along high-contrast edges. Crucially, use masking to restrict the sharpening exclusively to edges and textured details (like eyes and clothing) while keeping smooth areas (like skies or skin) unsharpened to prevent ugly digital grain.

What is non-destructive editing?

A true non-destructive photo editing workflow means making changes to an image without overwriting or destroying the original pixel data. This is achieved by using Duplicate Layers, Adjustment Layers, and Layer Masks instead of the Eraser or direct image adjustments. Because the original data is safely preserved beneath your edits, you can return at any time to tweak, reduce, or completely remove a specific adjustment without degrading overall image quality.

How do I remove distractions from photos?

The best methods include cropping (to physically remove edge distractions), subtle vignetting (to darken edges and draw the eye inward), and using the Healing Brush or Clone Stamp tool. When using the Healing Brush, always create a new blank layer, set the tool to sample "All Layers," and paint over blemishes to keep the removal non-destructive and highly reversible.

What are the best photo editing techniques for portraits?

For portraits, prioritize accurate white balance for natural skin tones. Use the Healing Brush gently to remove temporary blemishes (like acne) but leave permanent features (like scars or moles) to preserve character. Use Dodge and Burn to subtly enhance facial structure (lighten the bridge of the nose, darken cheekbones). Avoid aggressive global sharpening; sharpen only the eyes, lips, and hair.

How do I edit photos like a professional?

Learning how to edit photos like a professional comes down to clear intent and restraint. Professionals do not rely on heavy, blanket preset filters. Instead, they calibrate their monitors, use a strict non-destructive workflow, read histograms, apply selective masks for localized adjustments, and ask themselves "Does this edit serve the story of the photo?" before applying any effect. Less is almost always more.